Hi all,
Hope you’re having a nice week. I don’t know about you, but I am ready for the weekend!
When we moved into our flat, we knew we wanted to do a lot (if not all) of the repairs ourselves. First up in our DIY show and tell is the hallway transformation. This has been our biggest project so far and was a bit terrifying to start because…
- We had no idea what was under the carpet. Original hardwood floors from 1890? Concrete? Botched jobs? Monsters?!
- We knew that once the carpet is torn up there is no going back. Our flat hallway would be a semi-construction zone for the next couple weeks!
- After doing some research, I realised that tracking down Victorian floorboards is easier said than done. A few were advertised on GumTree, but only a few bits here and there. Would we be able to find enough (if needed) and for how much?
- And by far the most nerveracking: this was the first time we’ve ever done something like this. The potential for error was definitely there.
Here’s how the whole thing played out (taking place over five weekends).
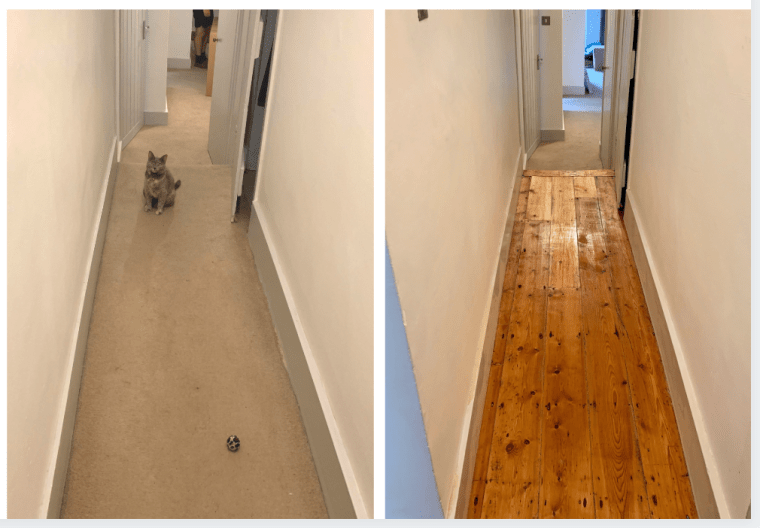
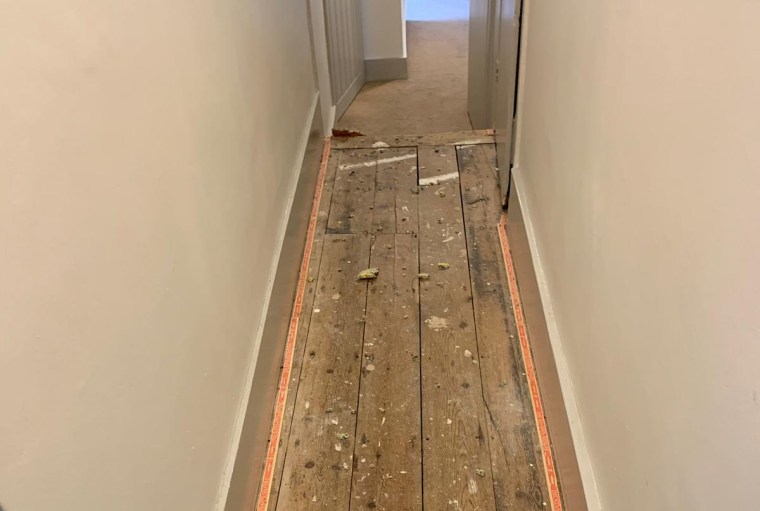
First… the moment of truth. We ripped up the carpet to find original hardwood floorboards in pretty good condition – minus a few quick fixes from way back when (seen below).
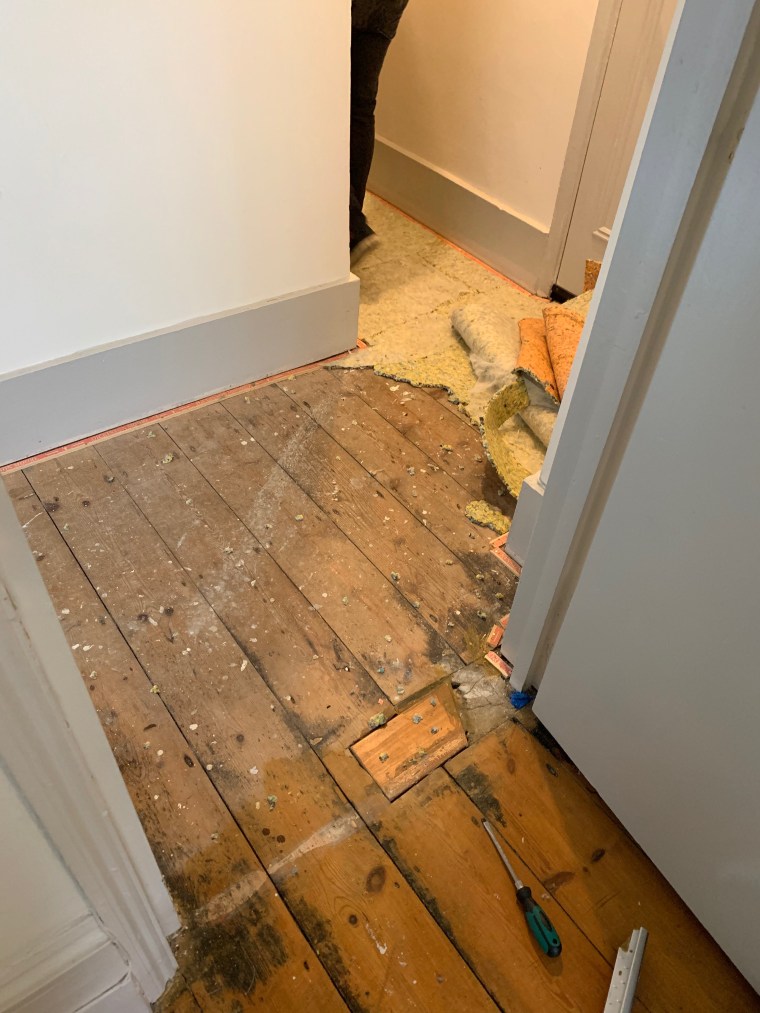
Overall we were relieved. There were only a few problem areas. The horizontal wooden slab and concrete filler needed to go. A few planks further down needed to be replaced.
To see what we were working with we cleaned up what we could. Pulled out approximately 300 (!!) staples that held in the carpet, as well as the borders that fasten it to the side (the thin red and tan wooden strips).
Cue the repairs! We searched online for planks from around the same era and made of the same type of wood (pine). No luck. It wasn’t until we stumbled across a carpentry shop in south London that we found what we were looking for. It felt like Christmas!
Next steps:

- Cut out and remove broken planks. In a few areas we had to remove part of the adjacent plank too in order to access the joist below the floor (the horizontal frame where wood is securely drilled into). You can see a bit of the joist to the left of the 1986 Tango can we found under the wood!
- Cut the new planks into the correct size. Use a drill to nail either end of the planks into the joist.
- Sand!
In addition to our smaller manual sander, we hired a heavy duty one. I’m in no way a sanding professional (I wouldn’t know where to start with the correct, technical terms!), but we used a fine sanding setting to ensure we took off the bare minimum. We wanted a smooth surface – but whilst keeping the character and history.

We used the small hand sander for the borders.
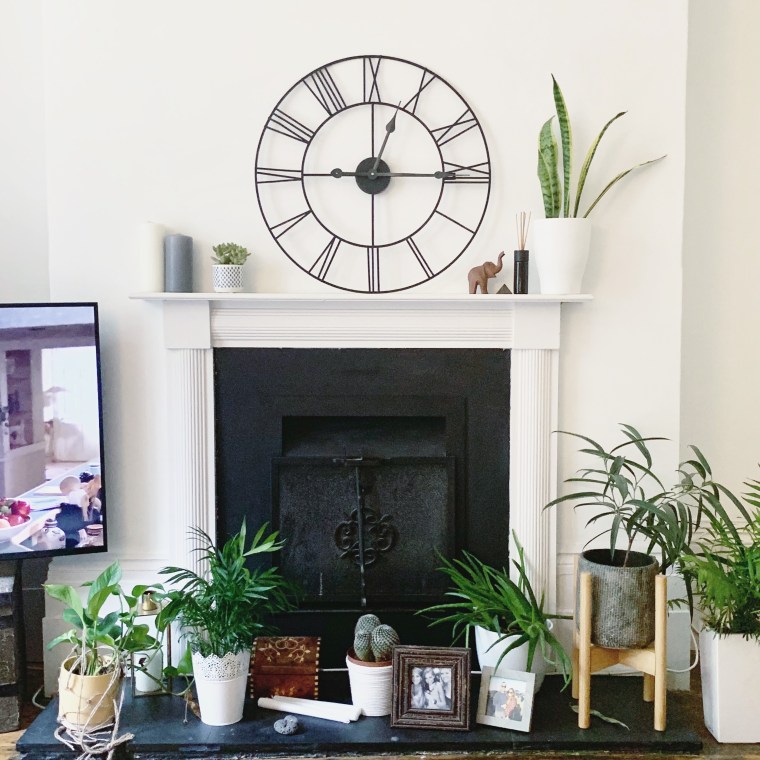
Next up – varnish. We wanted the hallway to match the wood floor in our living room – or be as close as possible. We thought we would have to use a stain. We thankfully tested one in a small corner behind a door. It was way too dark. I would strongly suggest applying a small test sample to confirm it’s the shade of your wood floor dreams.
Instead of the stain, we opted for a clear gloss. It was almost perfect. We applied two coats – each took 10 hours to dry.
Finally… five weeks later… taa daa!

We couldn’t be happier! The wood continues to the steps in our hall. Beyond that, carpet begins (we know there’s concrete underneath so we left the carpet).
So what do we do? Fresh carpet? Or perhaps new wood that hopefully matches the original? I’d love to hear your suggestions!
The first project has been crossed off the list. So, what should be next?
McK